

Command forms: link the command, focus on the fields

A command form links a form to a command by its type. Arc’s CommandForm owns one instance of the generated command, and you write the fields that bind to its properties. Validation, errors under the right field and execution state come with it. Cratis Components builds fields, dialogs and steppers on top. Everything is typed from the C# command to the field, which means the compiler tells you when you got it wrong. It checks that a property exists, though, not that the control you picked fits it.
Most of a form isn’t the fields
Section titled “Most of a form isn’t the fields”Let’s face it, the fields are the easy part. A text box for a title, a number box for pages. It’s everything around them that eats your day: state for every input, validation rules that have to match the backend, getting a rejection from the server back to the field it was about, disabling the button while it’s busy, and doing all of that again for the next form.
I’ve always wanted that part to go away. The idea behind a command form is to give you an abstraction where you point at a command by its type and then only care about the input fields. Everything else follows from the command.
Link the command, not the state
Section titled “Link the command, not the state”Take a command that adds a book to a library. This is the backend, in a project made from the cratis template:
namespace Library.Books.AddBook;
[Command]public record AddBook(string Title, string Author, int Pages){    public (BookId, BookAdded) Handle() => (BookId.New(), new(Title, Author, Pages));}
[EventType]public record BookAdded(string Title, string Author, int Pages);
public class AddBookValidator : CommandValidator<AddBook>{    public AddBookValidator()    {        RuleFor(c => c.Title).NotEmpty();        RuleFor(c => c.Pages).GreaterThan(0);    }}
A command with three properties and two rules. Nothing about a form in sight. When the project builds, Arc’s proxy generator writes AddBook.ts next to it, with the properties and a TypeScript version of the same rules:
export class AddBookValidator extends CommandValidator<IAddBook> { constructor() { super(); this.ruleFor(c => c.pages).greaterThan(0); this.ruleFor(c => c.title).notEmpty(); }}Rules defined once in C# end up in the browser. The validation post goes into where a rule can live and which rejections reach a field. Now the form. This is a dialog, built with Cratis Components:
import { CommandDialog } from '@cratis/components/CommandDialog';import { InputTextField, NumberField } from '@cratis/components/CommandForm';import { AddBook } from './AddBook';
export const AddBookDialog = () => (    <CommandDialog        command={AddBook}        title='Add book'        okLabel='Add'        cancelLabel='Cancel'>        <InputTextField<AddBook> value={c => c.title} title='Title' />        <InputTextField<AddBook> value={c => c.author} title='Author' />        <NumberField<AddBook> value={c => c.pages} title='Pages' />    </CommandDialog>);
That’s the whole thing. No state, no onChange, no error handling, no submit handler. CommandDialog creates the command instance, the fields bind to its properties through the accessor, and the dialog runs the command when you confirm. The CommandForm docs describe what a field binds to, and Arc’s own CommandForm is what’s underneath if you want the form without a dialog.
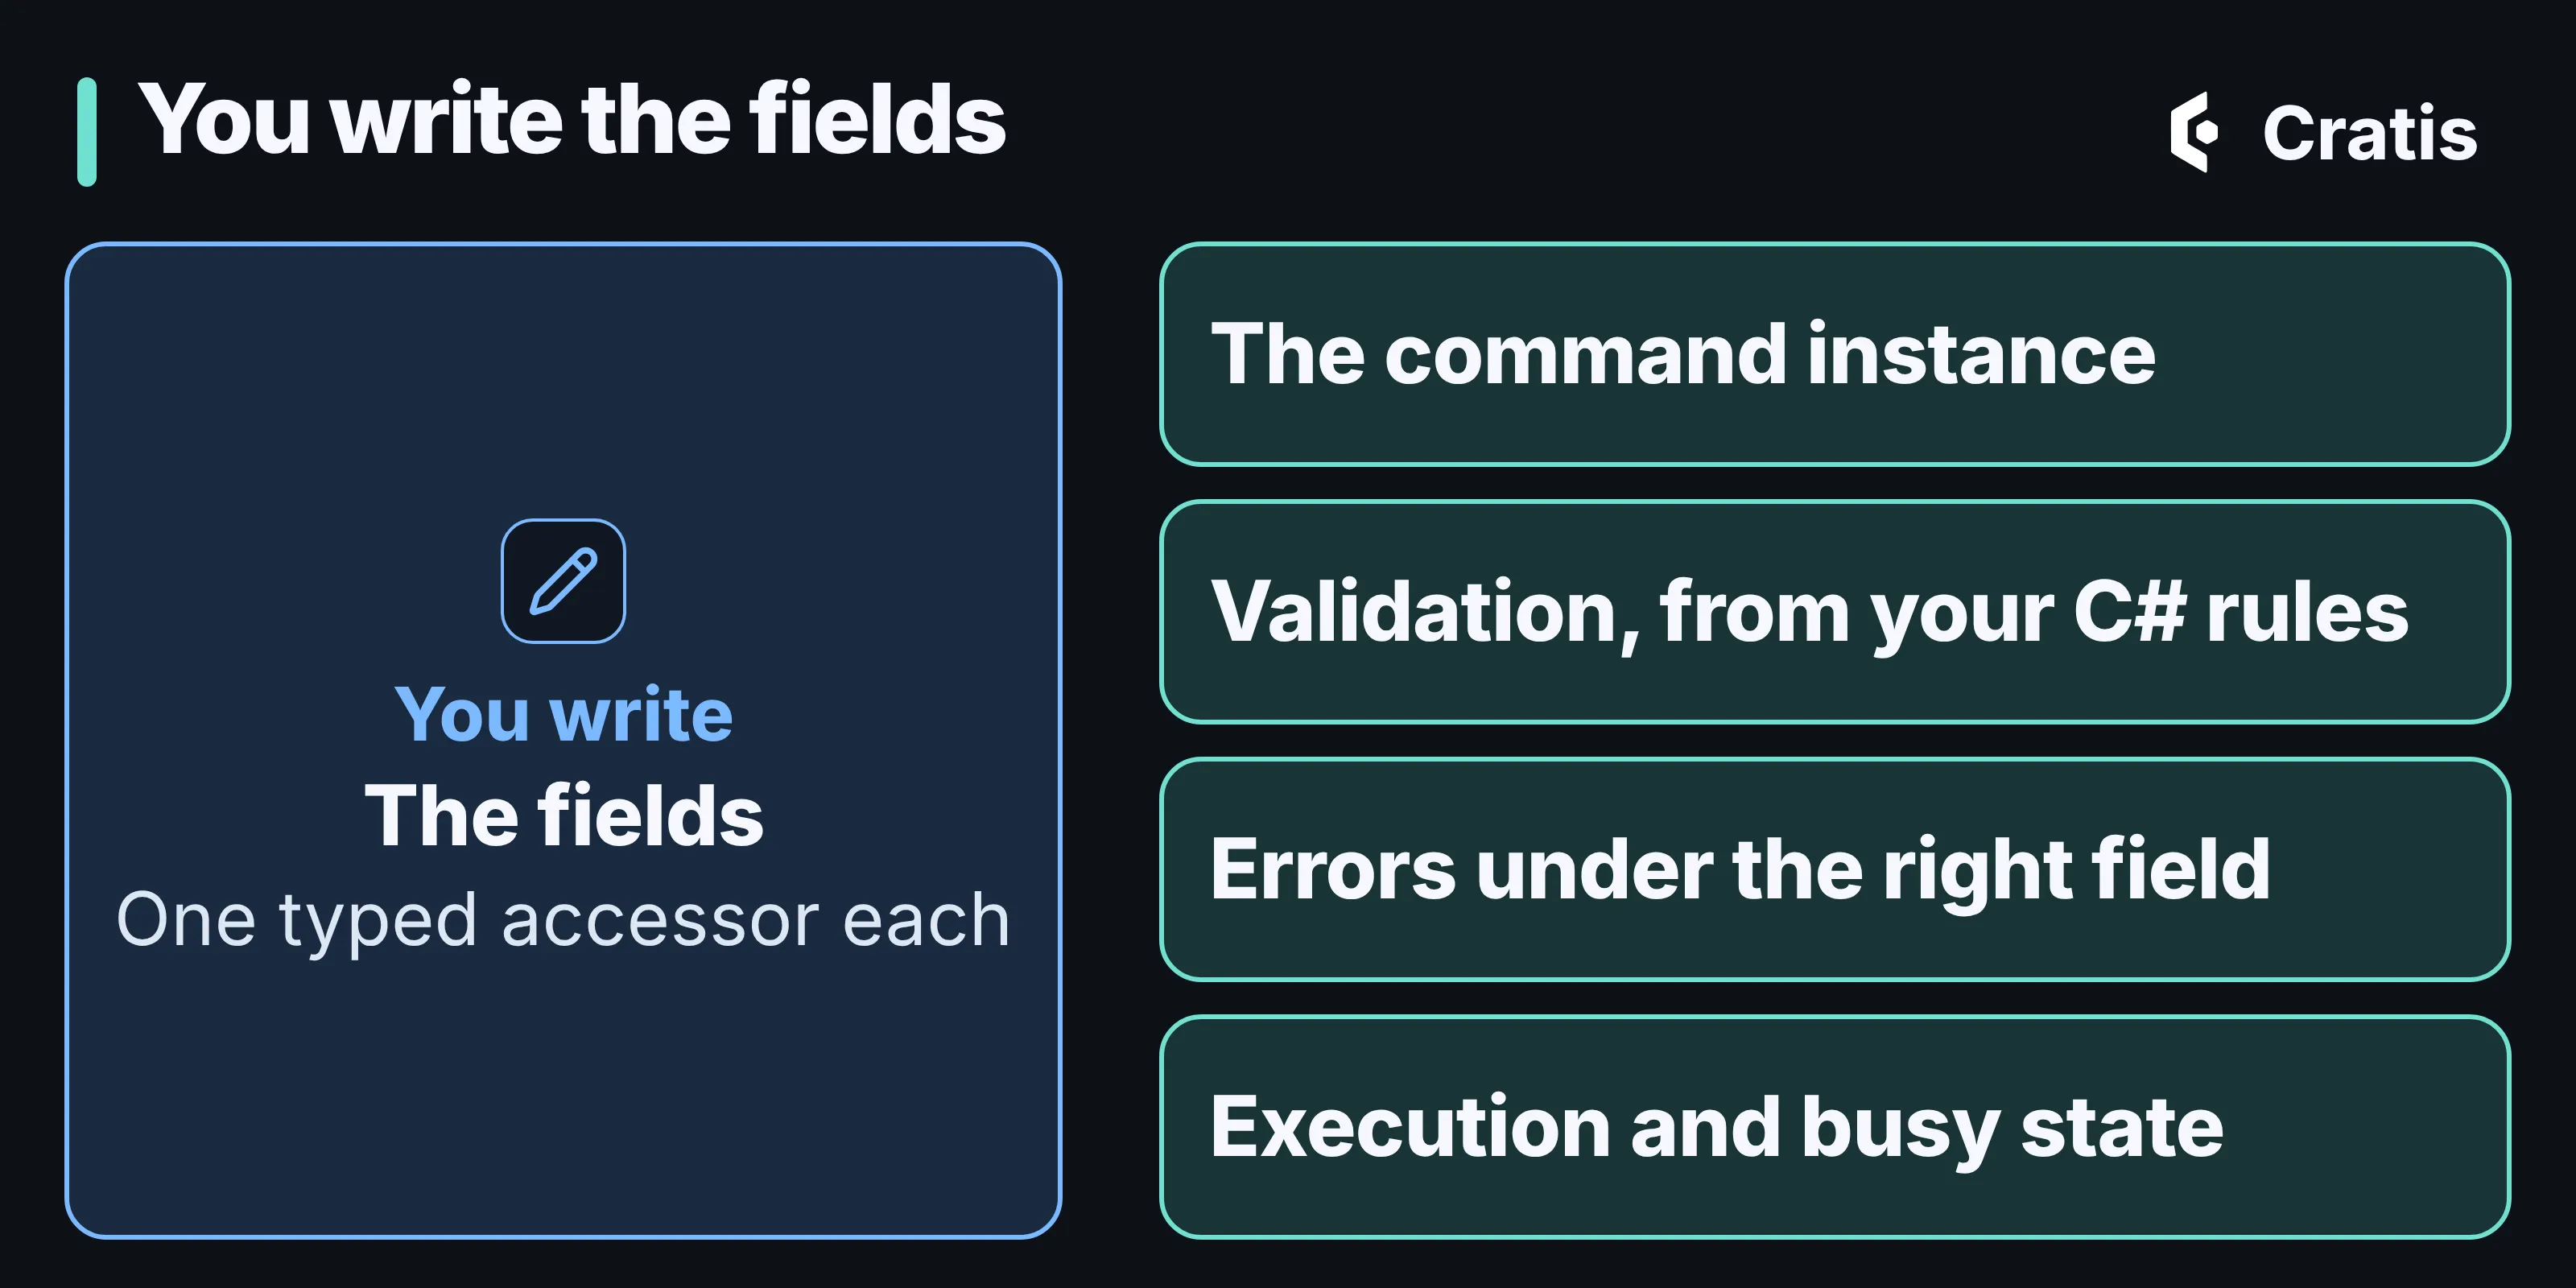
The fields are yours. The rest comes with the command.
Here’s what that buys you. Leave the Title field empty and move on, and the message from your C# rule appears under that field, with the input marked invalid. The Author field next to it is left alone. Type a title and the message goes away. A property that’s still unset keeps the form invalid, and a CommandDialog keeps its confirm button disabled until it’s valid. When the server rejects something instead, the rejection finds its way back to the field it names, and Part 9 of the series follows a taken name all the way back to the Name field.
One more thing I like. Arc isn’t only for .NET. It also runs on Spring Boot on the JVM, and both generate against the same TypeScript packages. The form above would be the same code whichever backend sits behind it.
The type is the guard rail
Section titled “The type is the guard rail”The accessor c => c.title isn’t a string. It’s a function over the generated AddBook type, so the compiler knows what c is. Misspell the property and you’re told:
error TS2551: Property 'titel' does not exist on type 'AddBook'. Did you mean 'title'?Forget the type parameter on the field, and c is no longer an AddBook:
error TS18046: 'c' is of type 'unknown'.That’s why every field in the docs is written InputTextField<AddBook>. The part I care about most is the one that crosses the language boundary. Rename Title to Name in C# and build, and the proxy is regenerated without title. The next TypeScript build fails at exactly the field that used it:
error TS2339: Property 'title' does not exist on type 'AddBook'.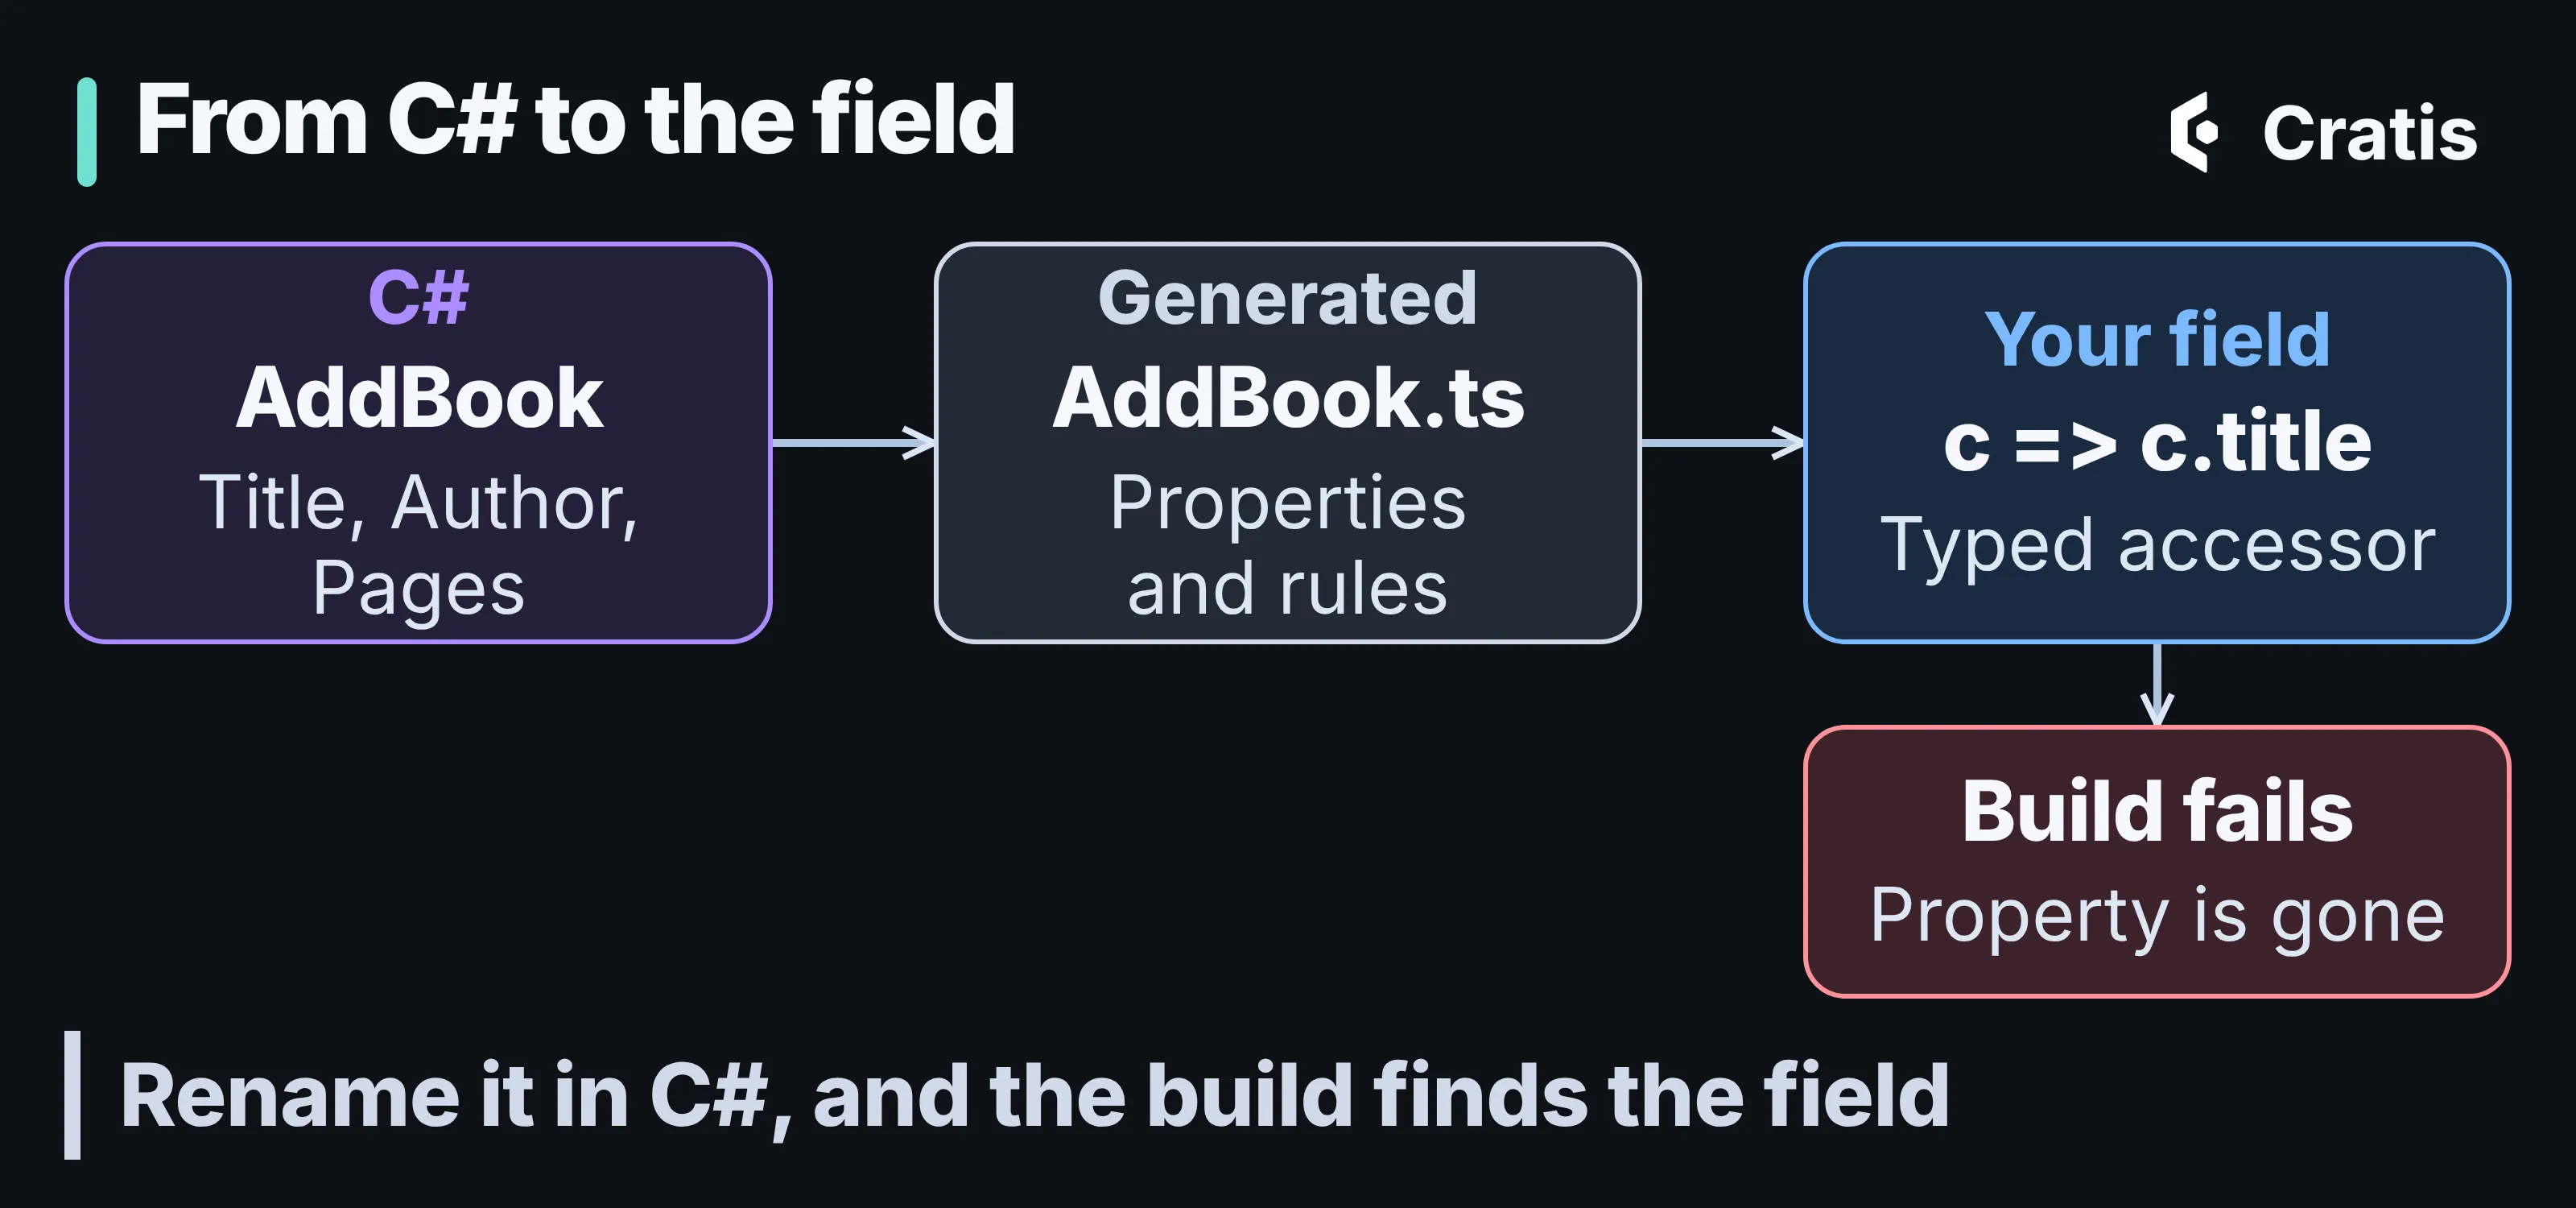
A rename in C# is a compile error at the field, not a surprise in the browser.
In the age of agentic programming, I think this matters more than it used to. An AI assistant happily writes a plausible property name, and a plausible name is not the same as a name that exists. A compile error with a “did you mean” is a guard rail that doesn’t depend on anyone reading carefully. Good for humans, good for AI.
I want to be straight about how far that guard rail goes, though. It checks that the property exists. It doesn’t check that the control fits it. A NumberField bound to the string property title compiles without complaint, because the accessor only has to return something. Choosing the right control for a type is still on you, or on AutoCommandForm, which picks the control from the property’s type for you.
Pick the shape you need
Section titled “Pick the shape you need”A form in a dialog is only one way to use it, and Components has a few others on top of Arc’s CommandForm:
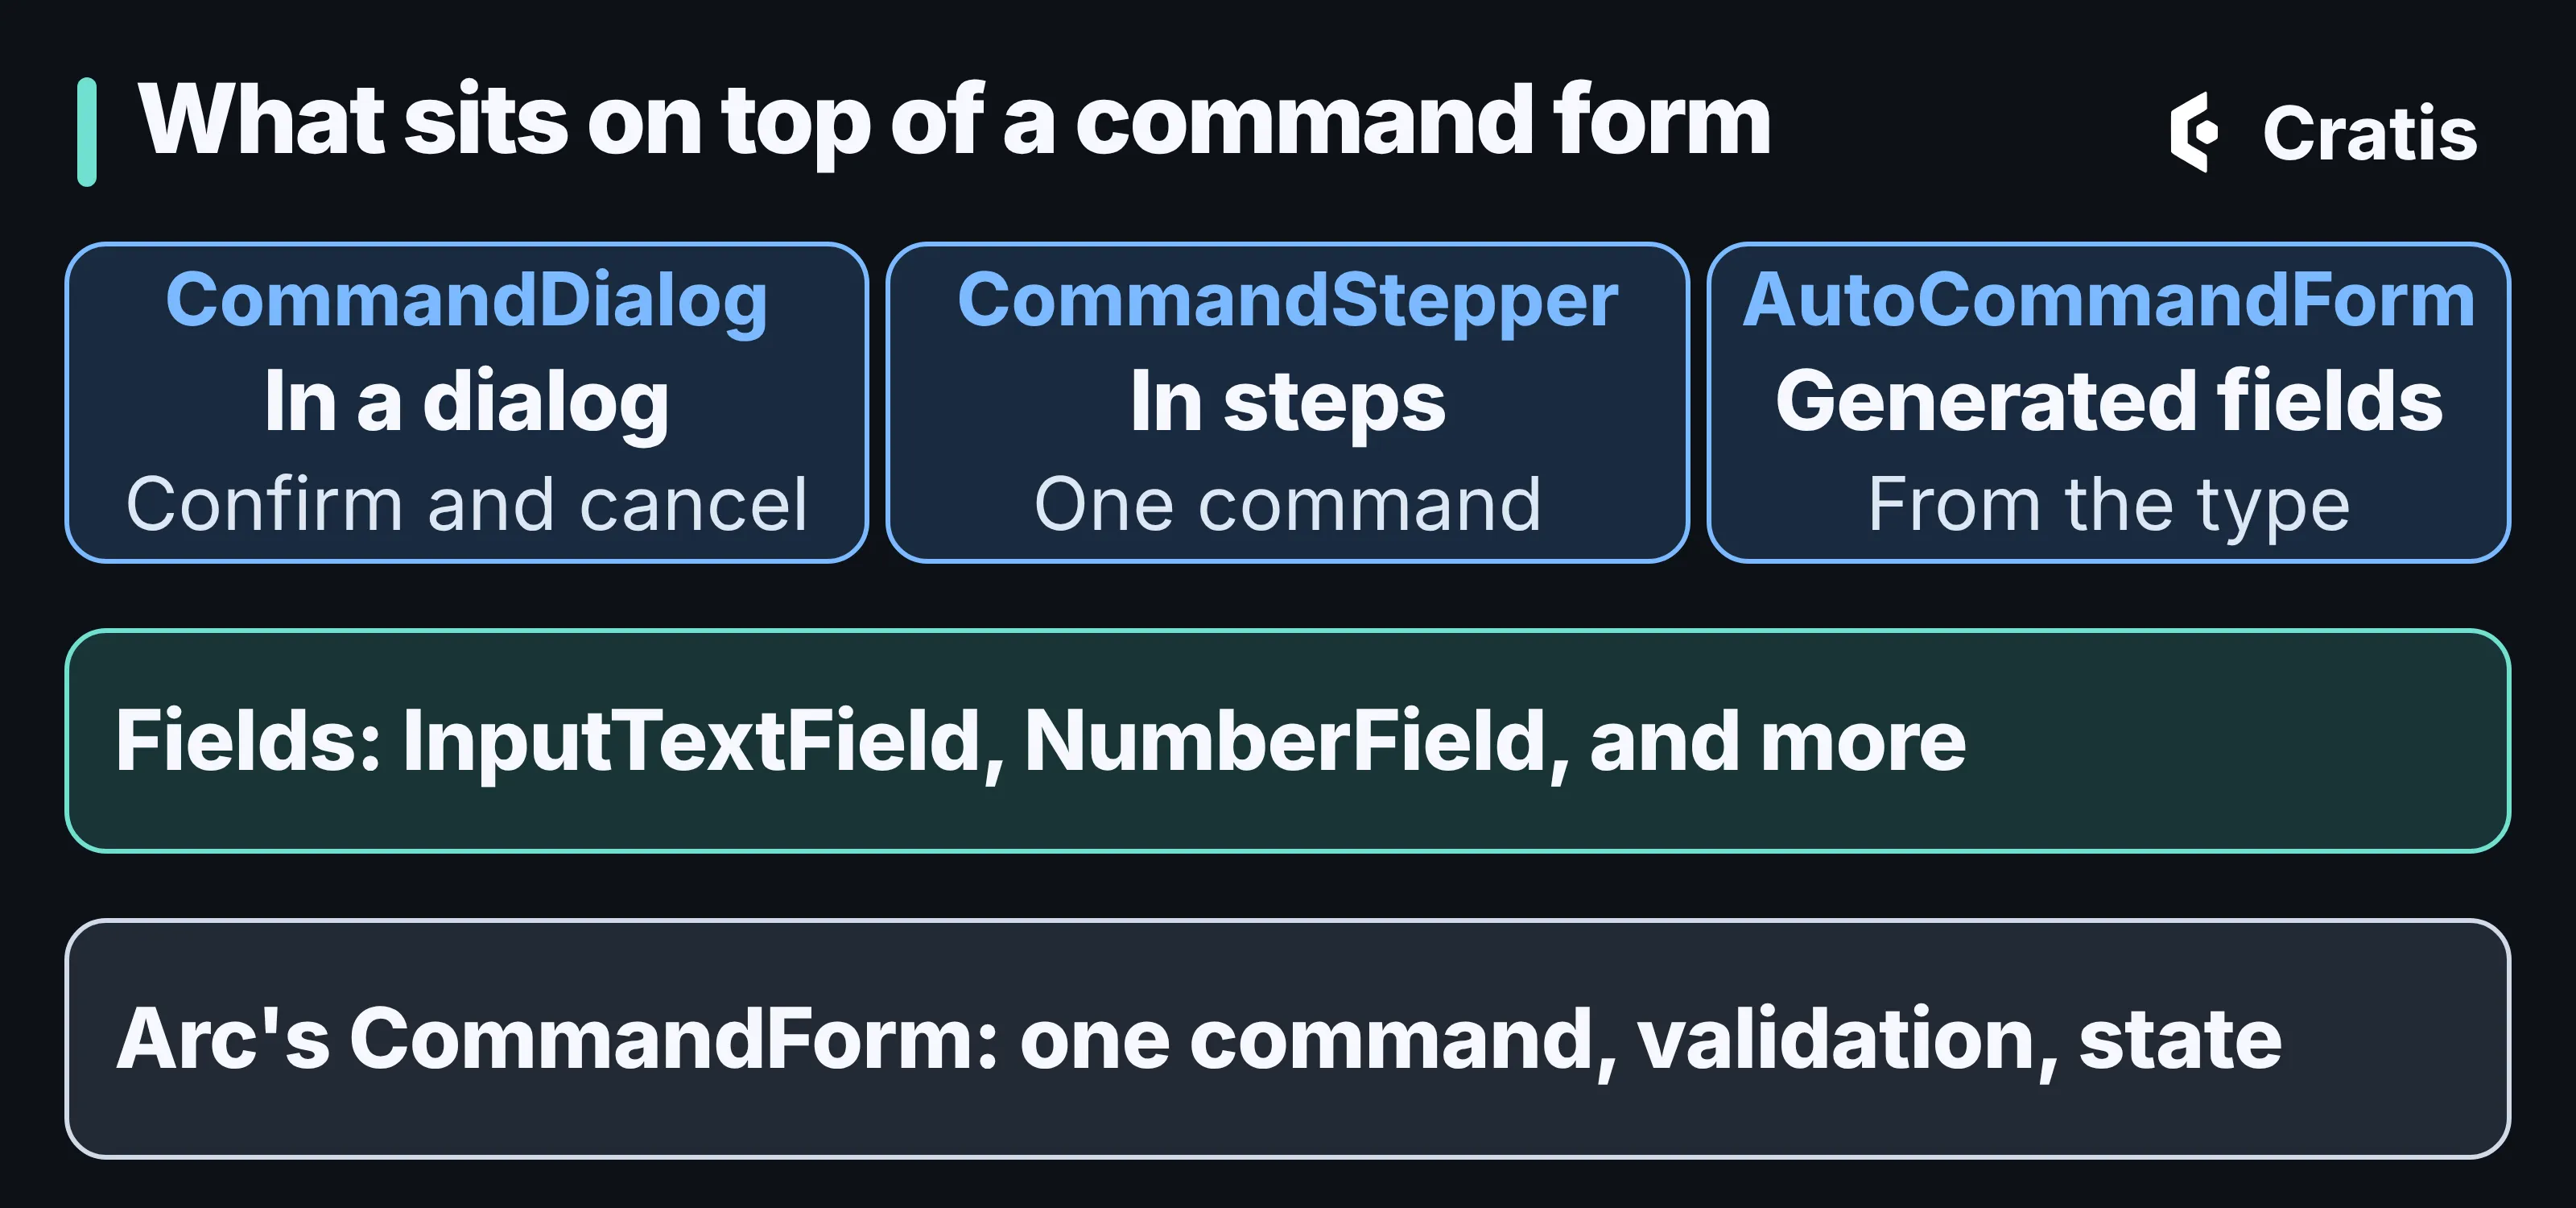
Dialogs, steppers and generated forms all sit on the same command form.
CommandStepper and StepperCommandDialog split one command over several named steps, for a multi-step form. And when you don’t want to write a field per property at all, AutoCommandForm generates them from the command’s own properties:
import { AutoCommandForm } from '@cratis/components/CommandForm';import { AddBook } from './AddBook';
export const AddBookForm = () => (    <AutoCommandForm        command={AddBook}        footer={<button type='submit'>Add</button>}    />);
A string gets an InputTextField, a number a NumberField, a boolean a CheckboxField and a date a CalendarField. Fields are the same components you’d write by hand, and you can register your own for other types.
Where it stops
Section titled “Where it stops”Some honest limits, because a form abstraction that pretends to be everything ends up in the way:
- The accessor has to be a simple property access like
c => c.title. Binding resolves a property name, not an arbitrary expression. AutoCommandFormleaves out properties it has no field for, such as nested objects, arrays and enums. If one of those is not optional, you need to seed it, or the form stays invalid. Generated titles come from the property names, and there’s no way to override one except writing that field yourself.- Don’t put an
AutoCommandForminside aCommandDialog. Each creates its own command instance, so what the user types would never reach the command the dialog runs. Write the fields by hand in dialogs and steppers. - Components is a React layer for Arc’s generated contracts. It’s a good fit for screens that run commands and show queries, and it isn’t trying to be a design system for everything else.
Try it
Section titled “Try it”You can see all of this with the official template. Create a project, add the command above as Books/AddBook/AddBook.cs and the dialog as Books/AddBook/AddBookDialog.tsx, then build to generate the proxy:
dotnet new install Cratis.Templatesdotnet new cratis -n Librarycd Librarydotnet buildnpm installnpm run buildThen rename a property in the C# command and build again. Watching the frontend build point at the field you forgot is the quickest way I know of to see what “typed all the way” means. If you want to go further, the Components tutorial builds a live list-and-detail screen, and Part 9 covers how the rest of the dialog’s behavior is built.